7 Trail Hacks to Freeze-Frame Epic Memories

Look, we don’t hike just to log miles. We hike because we need to see the wild stuff. We do it for the sunrise painting the ridges, the taste of glacier water, and that moment when your boots hit the peak.
When you’re out here, standard phone pics don’t capture the magnitude of what you’re actually feeling. If you’re trying to build a truly epic trip report or just show your crew back home why you disappear every weekend, you need a strategy.
These are my seven non-negotiable rules for capturing that shot, while still keeping your vibe right.
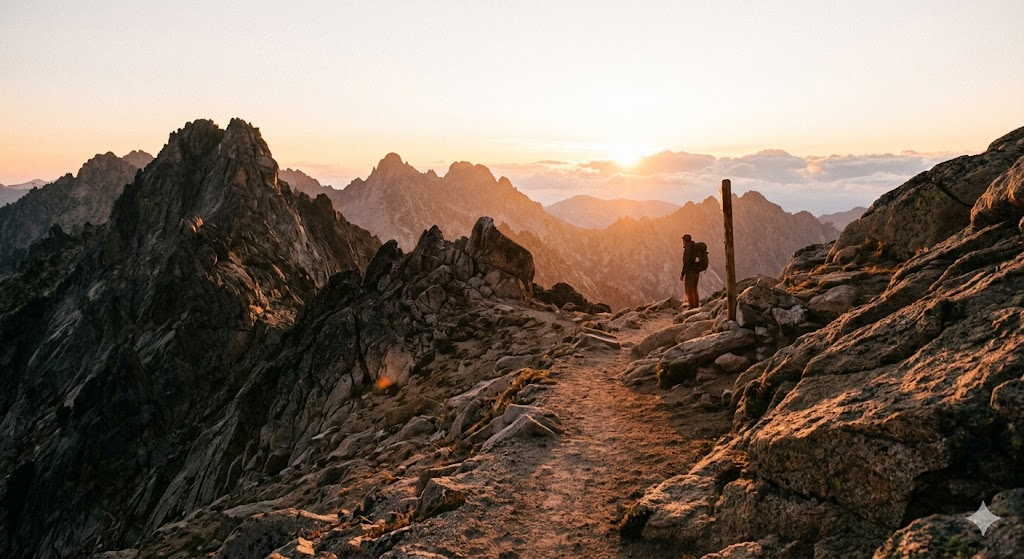
1. Own the Golden Hour (Lighting is Your Fuel)
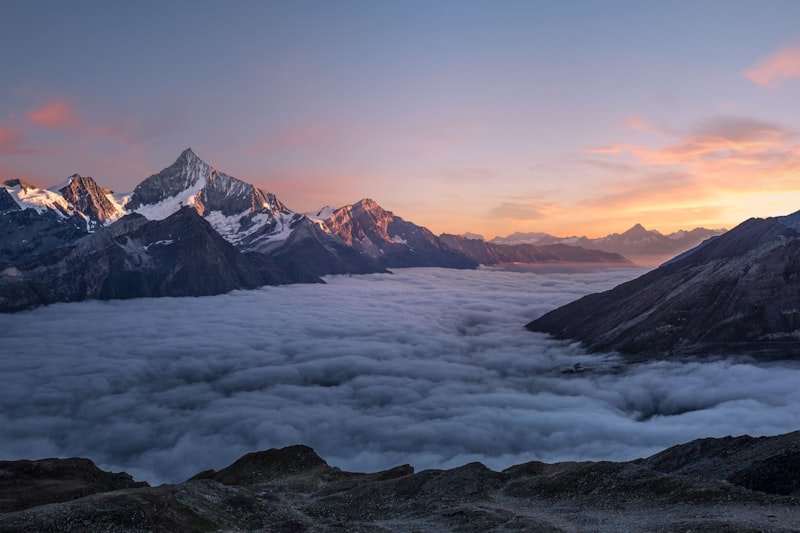
The difference between a “flat” landscape photo and one that makes people stop scrolling is lighting. The best time for hiking photography is the Golden Hour—the hour after sunrise and the hour before sunset. The sun is low, hitting the jagged, rocky texture of the landscape, and everything is wrapped in that warm, soft, orange glow. This isn’t just about a pretty sunset; it’s about defining the mountains.
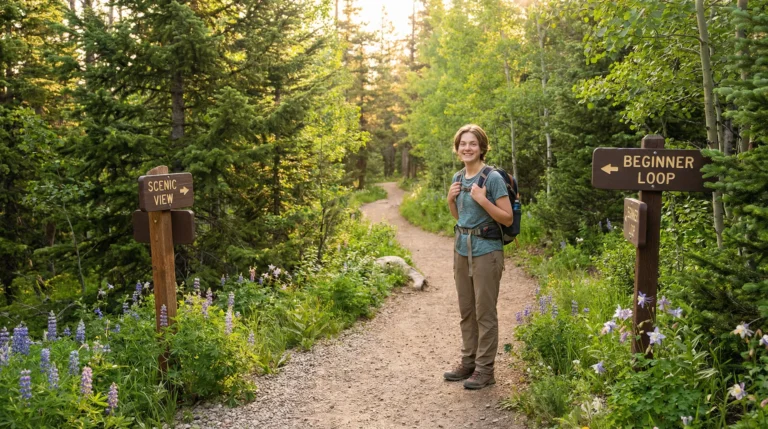
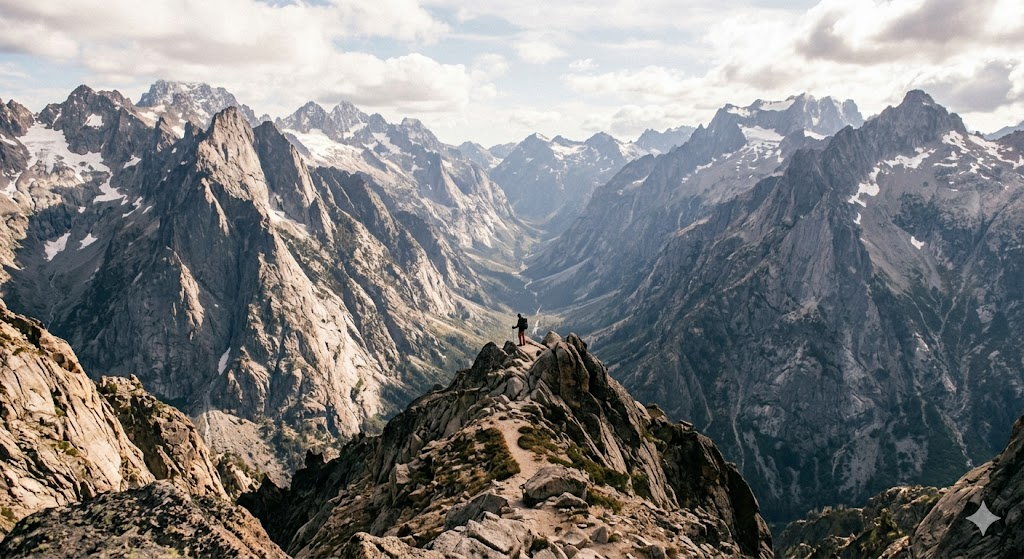
2. Add People for Scale (Convey the Immensity)
Your eyes see the thousand-foot drop, but your camera just sees a flat line. To show how vast these wild places actually are, you need to use landscape photography perspective techniques. Put a person in the frame. A lone hiker—distant, walking a narrow ridge, or just standing next to an immense boulder—immediately creates context. Suddenly, that canyon wall doesn’t just look big; it looks overwhelming.
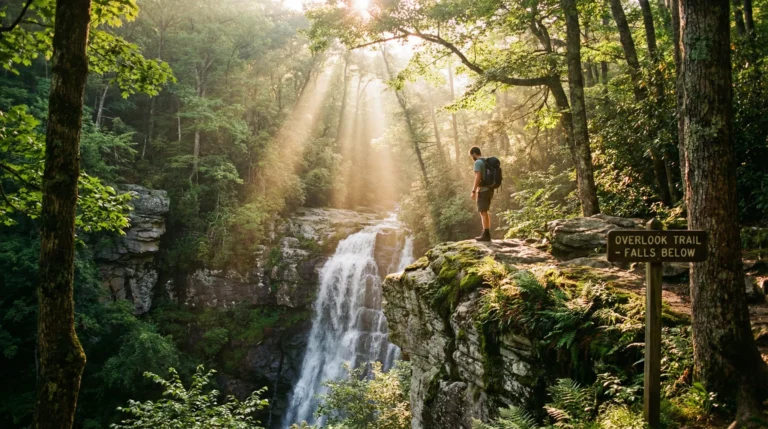
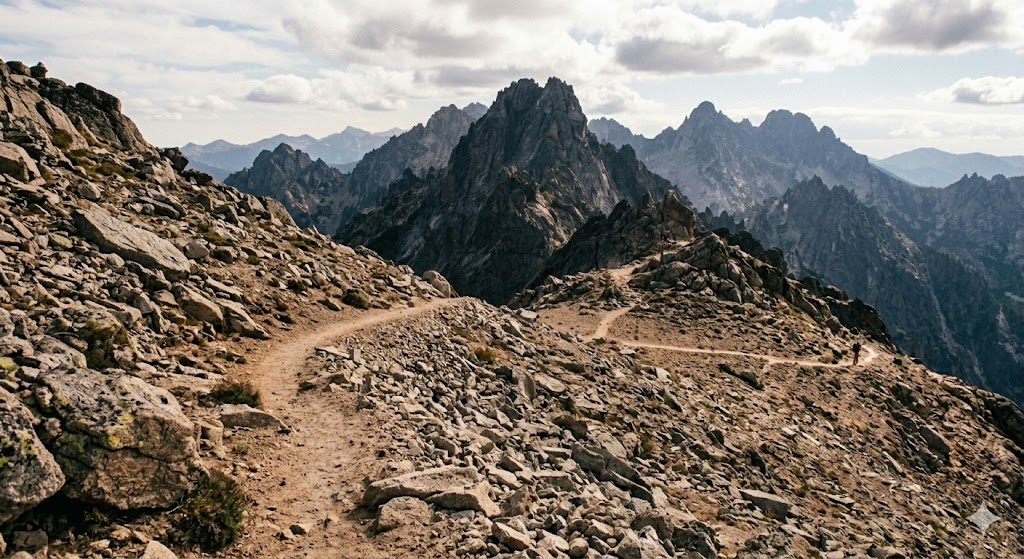
3. Let the Trail Guide the Eye (Leading Lines)
Composition techniques in nature can be simple. Don’t just point and shoot the peak. Frame the shot so your viewer goes on a journey with you. This is where leading lines come in. Use the actual, winding singletrack trail, a rushing creek, or a sharp ridgeline that starts in the foreground and curves its way deep into the frame. It tells the viewer exactly where to look.
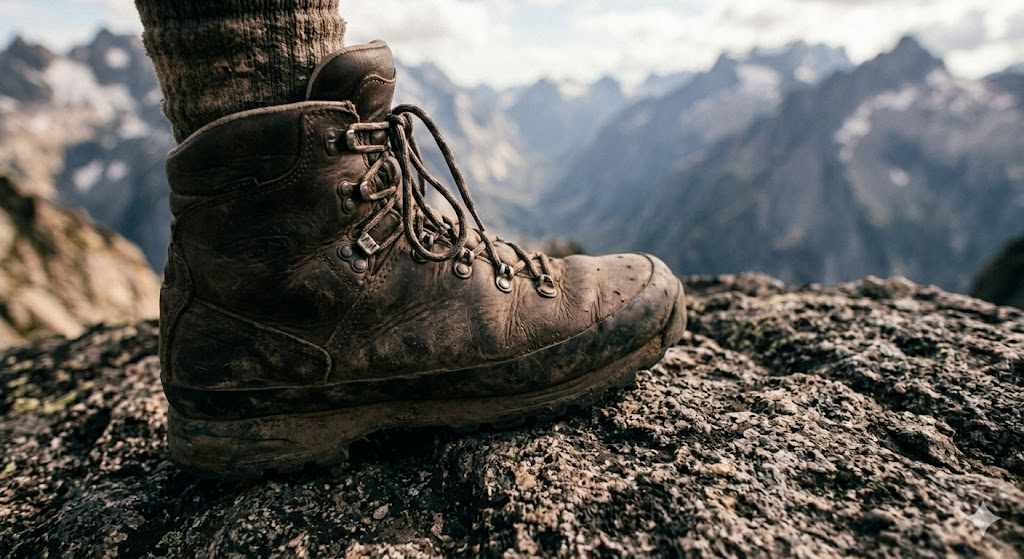
4. Capture the Micro-Moments (Tell the Whole Story)
Landscapes are essential, but the details are where the memory lives. Candid hiking shots are often the best. Don’t forget to get macro: freeze-frame the texture of your well-worn boots on the rock, the frost on an alpine pine, the mud on your pant legs, or the morning steam rising from your camp mug. These are the sensory details that bring the adventure back to life.
5. Pack Light (Efficiency is Everything)
When you’re pushing vertical, ounces are pounds, and pounds are pain. If you’re serious, the best camera is the one you actually have with you. Don’t break your back carrying a massive DSLR and five lenses. Get a lightweight, capable mirrorless setup or a high-end compact that fits in your hip pocket. You want to focus on the terrain, not your aching shoulders.
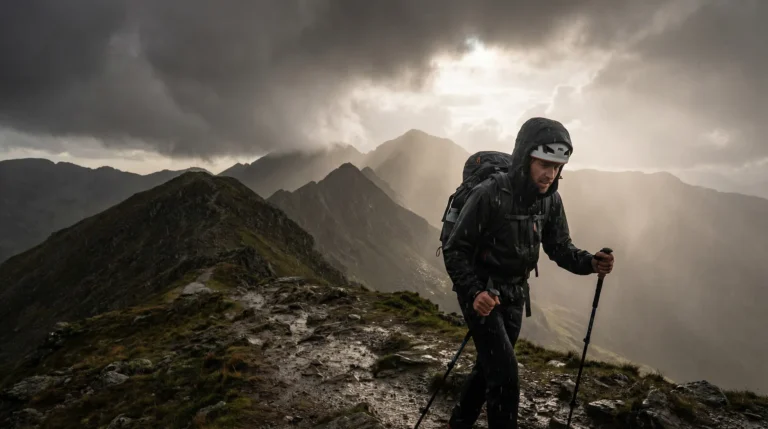
6. Keep Your Gear Alive (Wet & Dusty)
The wild is wet, messy, and hard on gear. Whether it’s sudden mountain rain, a messy river crossing, or fine, silty dust, moisture and electronics do not mix. If you’re chasing a storm, you must have weatherproof camera gear for hiking. Always keep a lightweight dry bag in your pack, use a rugged case for your phone, and have a good cover for your main camera body.
7. Know When to Put the Camera Down (The Most Important Rule)
It sounds weird, but the best way to remember the hike is often not to take the shot. We hike for the immersion. We do it to feel the wind, smell the sage, and hear the silence. When you view everything through a screen, you miss the moment. Take your priority shots, get it done, and then stop. Secure the gear, breathe the mountain air, and just be. That’s the true definition of “Hiking Wild.”